Basic Operation
TimeTrex has four basic operations that can be performed on most records: View, New (Add), Edit and Delete.
Viewing records:
- Navigate to the records that you wish to view by selecting the appropriate option from the main menu.
- The Listing/Details section will show all records that you have permissions to see. If required, use the Search Panel feature to narrow the results.
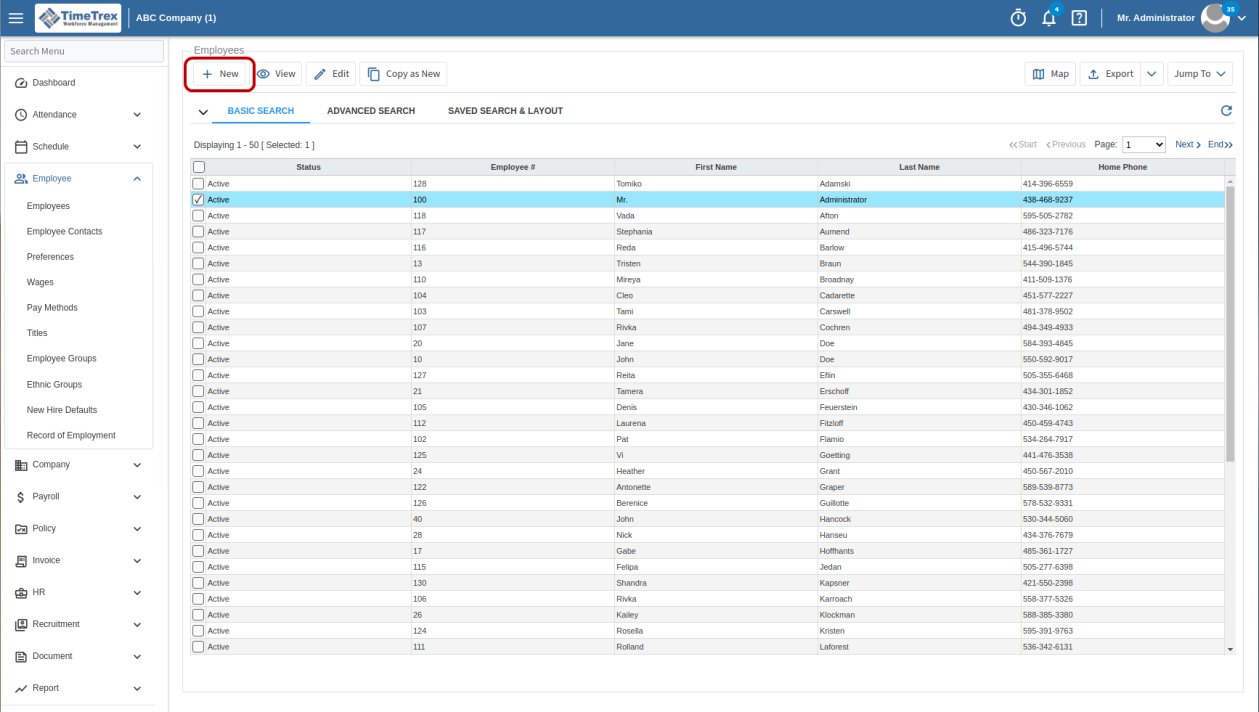
Adding New records:
- Navigate to the records that you wish to add by selecting the appropriate option from the main menu.
- If records of that type do not exist, click the New button where the Listing/Details section would normally be located.

- If records of that type do exist, click on any record so the button bar switches to the available buttons or actions for that record, and then click New in the button bar.
- An inset page will appear with one or more tabs enabled and whichever tab is active is underlined. If there are multiple tabs, click on each tab to see additional fields that you can fill out.

- Click Save in the button bar to save your changes, or click Cancel to discard the changes.
Editing existing records:
- Navigate to the records that you wish to edit by selecting the appropriate option from the main menu.
- In the Listing/Details section, select the record you want to edit from the list, and then click Edit in the button bar.
- An inset page will appear with one or more tabs. If there are multiple tabs, click on each tab to see additional fields that you can fill out.
- For convenience, you may click the drop-down list in the upper right to edit another existing record.
- Click Save in the button bar to save your changes, or click Cancel to discard the changes.
Deleting existing records:
- Navigate to the records that you wish to delete by selecting the appropriate option from the main menu.
- In the Listing/Details section, select the record that you would like to delete from the list, and then click Delete in the button bar.
- Click Yes to confirm or click No to cancel.
WARNING: When deleting records, all data related to the records is deleted and will not be recoverable after you confirm the delete action. Therefore, you should not delete a record unless absolutely necessary. In most cases you can disable or deactivate records.
For example, if an employee leaves or is terminated, rather than delete the employee and lose all related data, you can set their Status as Terminated/Quit and retain the data for reporting purposes.